
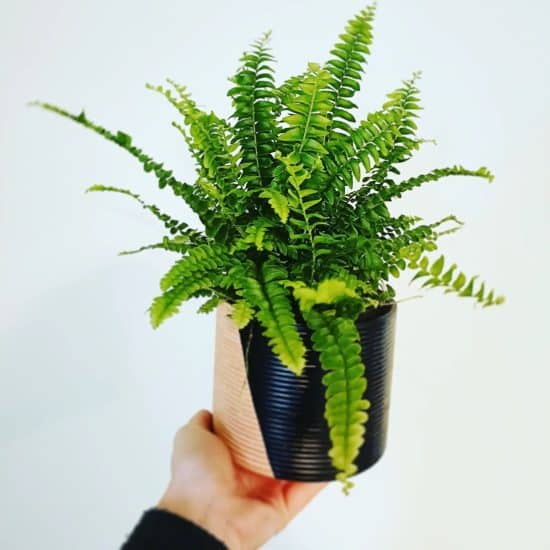
If you’re looking for an iconic, romantic houseplant whose cheerful foliage will reward you day after day, you couldn’t find a better one than the Boston fern. With the right light and humidity, Boston fern is a relatively low-maintenance addition to your indoor garden.
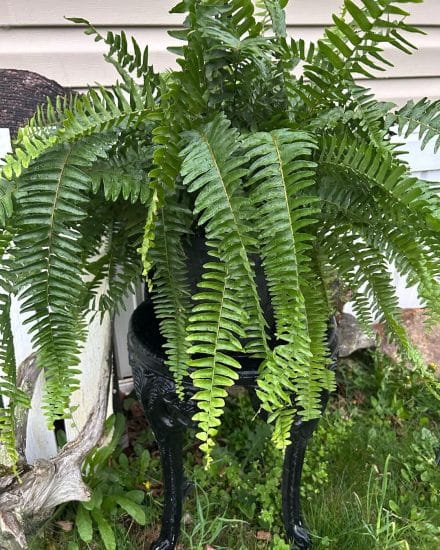
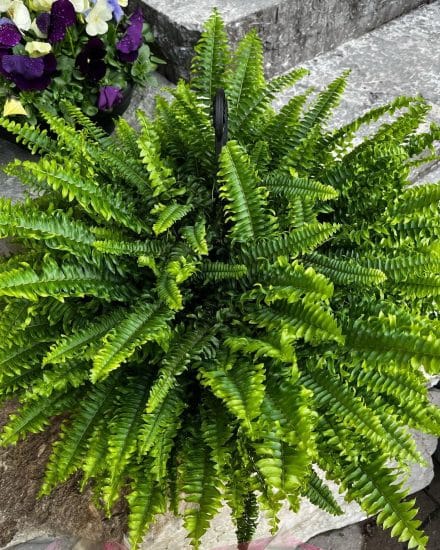
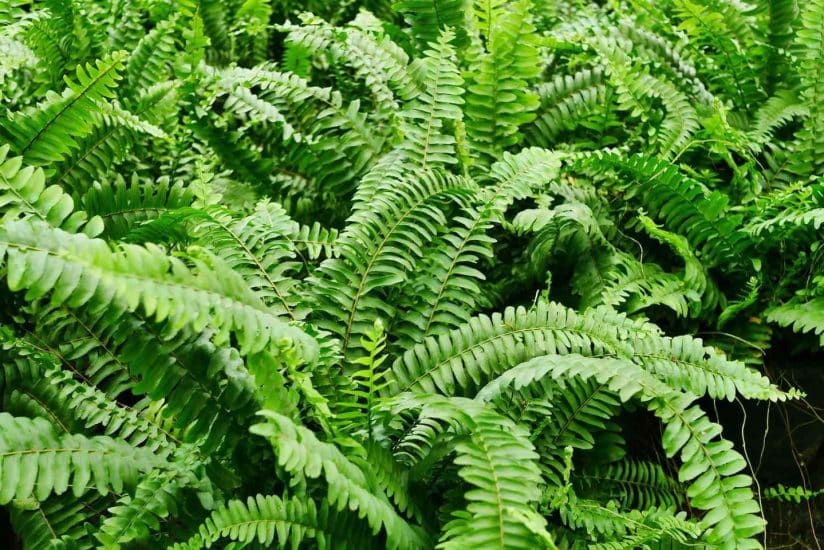
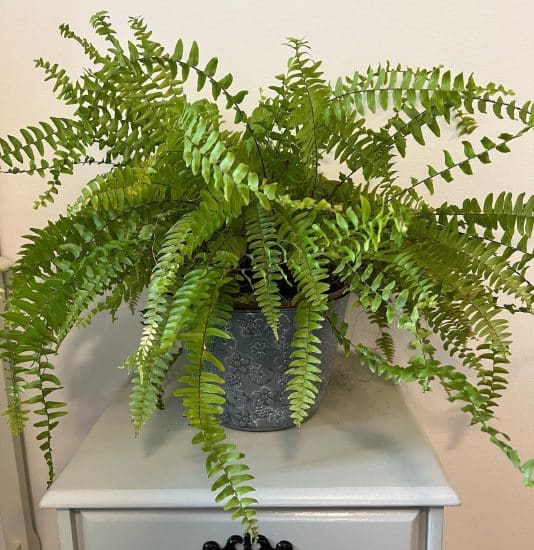
Nephrolepis exaltata ‘Bostoniensis’ features long, sword-shaped fronds (hence its other name, sword fern) adorned with tiny leaves. The feathery fronds grow upright until they get long, at which point they’ll drape and fall whimsically, if somewhat wildly. A bushy, well-grown potted Boston fern will enhance any room you place it in.
So, whether you’re a long-time fern aficionado or a newly minted plant parent, read on to discover everything you need to know about caring for the captivating Boston fern.
Table of Contents
Boston Fern Plant Care Guide
History, habitat, and characteristics
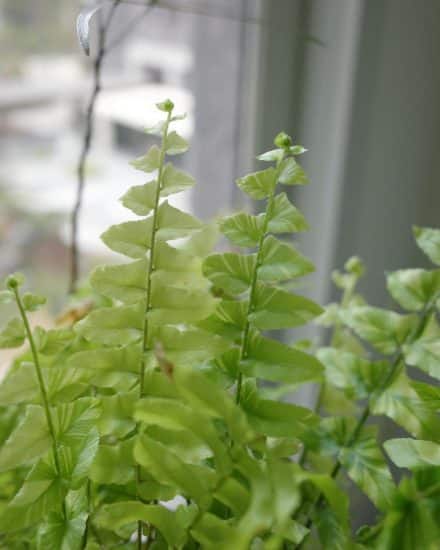
Boston ferns, or Nephrolepis exaltata, if you want to get scientific, have been around a long time. Ferns in general date back all the way to the dinosaurs. These hardy plants have survived and thrived this long by producing spores on the back of their fronds, which can grow as long as 3 feet.
Boston fern is particularly easy to care for by fern standards, which is why they continue to be the favorite fern of expert and amateur gardeners alike. Hailing from diverse corners of Africa, the Americas, and even Polynesia, Boston ferns have learned to adapt to a variety of climates, including warmer ones.
The Boston fern got its name from a happy accident in 1894, when a mutated, yet more attractive and resilient, fern was discovered in a shipment of ferns sent to Boston from Philadelphia. And thus, the famous Boston fern was born!
There are many varieties, but if you’re lucky, you’ll find the stunning and variegated Boston tiger fern, which features lime-green and dark-green variegation. You might also come across a ‘Golden Boston,’ lighter in color, or the simpler, if rarer, ‘Whitmanii,’ which requires less humidity than most Bostons.
Light
Indoor Boston ferns enjoy basking in bright, indirect light, so make sure they’re placed somewhere where direct sunlight won’t shine on their delicate fronds. By mimicking its natural habitat (the forest floor with its dappled shade), your Nephrolepis exaltata will feel right at home.
Grown outdoors, it’s best to keep Boston ferns facing north or tucked away under a deep overhang. Hot, direct sunlight will dry out its feathery fronds, turning it brown and making its soft, feathery leaves fall off.
Of course, if your Boston fern’s fronds turn yellow or the plant is growing especially slowly, it might not be getting enough light. It’s a shade-loving plant, but it’s still a plant, and it does need light. Consider moving it to a brighter spot or use a grow light to provide the extra light it craves.
If your fern is getting too much direct sunlight, you might see its fronds becoming scorched or burnt, with brown leaf tips. To fix this issue, relocate your plant indoors to an area with gentler, indirect light or use a sheer curtain to soften the sunlight.
Lighting tips:
- Pick a spot with bright, indirect light, avoiding too much sun on the fronds.
- If your fern is craving more light, try using an indoor grow light to give it an extra boost.
- If you want that iconic Boston-fern-on-the-porch look, just make sure it doesn’t receive direct sun, except perhaps in the early morning.
Water
Boston ferns love being consistently moist but not soaking wet, like a sponge that’s been squeezed out. Consistency is the secret for keeping this fern happy and healthy. A quick finger test is all you need to tell when your fern is ready for a drink. When the top inch of soil feels dry, it’s safe to water.
Water thoroughly with filtered water at the soil line, allowing the water to flow through the drainage holes. That way, you know you’ve watered enough.
If your Boston fern isn’t getting enough water, the fronds will look dry and shriveled, and they may eventually fall off, causing leaf drop. That’s your cue to increase the watering frequency and perhaps add ambient humidity.
On the other hand, if you give your Boston fern too much water, you’ll notice the leaves turning yellow and wilting, as well as the telltale signs of root rot setting in. In this case, let the plant dry out a bit and make sure you’re using a pot with proper drainage to avoid waterlogged soil.
Temperature and humidity
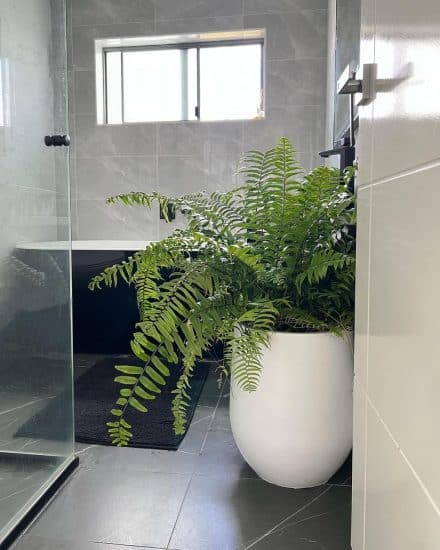
Boston ferns thrive in a humid environment. As natural humidity-loving plants, Boston ferns are often found in bathrooms, where humidity tends to linger. Ideally, these plants appreciate a humidity range of around 40%-60%.
If you notice the fronds turning brown at the tips, or the plant’s overall appearance seems too dry, there may not be enough humidity. To maintain consistent humidity, place your Boston fern on a drip tray filled with pebbles and water, or, better yet, install a humidifier nearby and run it at least 6 hours per day.
Boston ferns prefer slightly cooler temperatures at night, around 60-62°F (16-17°C). During the day, they can tolerate warmer indoor temperatures, but prolonged exposure to extreme heat or cold can be detrimental.
If the fronds turn yellow or begin to wilt, the temperature may be too high, although Boston ferns can withstand up to 95 degrees Fahrenheit as long as they’re protected from the sun and have humidity.
Cold drafts, especially during the winter months, can also harm your Boston fern. Bring outdoor plants indoors if temps fall below 40 degrees.
Temperature and humidity tips:
- Maintain a humidity level of 40%-60%, using a humidifier or a tray filled with wet pebbles.
- Keep your Boston fern in an area with a daytime temperature range of 65-80°F (18-27°C) and cooler nights around 60-62°F (16-17°C)
- Avoid placing your Boston fern near drafty windows, doors, or air vents that may expose them to temperature extremes.
Soil and planting
A well-draining mixture that still retains moisture is key. To achieve this, use a mix that includes coco coir with worm castings, orchid bark, perlite, and vermiculite. When it comes to potting, plant Boston ferns in a plastic or ceramic container (terracotta dries out quickly) with good drainage, ideally with at least two drainage holes.
Poor soil can lead to a host of problems for your Boston fern, so it’s important to monitor the plant for signs of distress. If the fronds begin to yellow or turn brown and the growth seems stunted, the soil may be retaining too much water or not providing enough nutrients. In this case, you may need to reevaluate your drainage and potting mix quality.
Although Boston ferns can generally grow well without regular fertilization, you can give them a boost with a quarter strength of your regular fertilizer after a few weeks of care. Only feed them once a month and only during the growing season. They’re naturally slow growers, so they prefer to just be left to it.
You’ll need to repot your Boston fern if it outgrows its current pot or if the soil needs fresh potting mix. Early spring is the ideal season for repotting, when the plant is actively growing and less stressed. Choose a container that is only slightly larger than the current one and make sure it has at least two drainage holes.
Propagation
The easiest way to propagate your Boston fern is through division. Divide your fern at the beginning of the growing season, when it’s strongest.
Propagating Boston ferns through division:
- Water your Boston fern a day before diving into the division process. Well-hydrated and flexible roots are easier to separate.
- Gently remove your fern from its pot, being extra careful not to damage any root balls. Freeing the fern from its pot might require a little tapping or squeezing — but we’re all about that gentle touch.
- Now, gently pull apart your outdoor Boston fern’s root ball into smaller sections using your hands. Each division should have a healthy mix of roots and fronds. If those roots are stubborn, a sterilized knife or scissors will do the trick.
- Fill up a few new pots with potting mix and make a little hole for each new fern. Place each division in its own hole and gently snuggle the soil around the roots for support. Water them thoroughly to settle the soil.
- Keep the new Boston fern plants in a spot with bright, indirect light and maintain that consistent humidity they love. Remember to water them regularly, keeping the soil moist but not swimming in water.
Common Issues
Dead fronds
This is usually a due to too little water or the wrong amount of light. To nurse your fern back to health, first make sure it’s getting the right amount of water and light.
Water the fern generously, but let the top 1 inch of soil dry out just a tad between waterings. Find a spot that offers bright, indirect light to avoid any harsh sun rays scorching your fern’s delicate fronds. After fixing the water and light situation, gently pluck away those sad dead fronds to make way for new growth.
Browning fronds
This can be due to potted ferns not getting enough moisture or light not reaching the back of the plant. Let’s fix that!
First, remove the damaged fronds. This has the added bonus of giving the healthy ones some room to breathe. Next, help your fern thrive by increasing the humidity — place it on a tray with pebbles and water, creating a little oasis for it, or blast it with some vapors from a nearby humidifier.
Keep it in a spot with bright, indirect light, and steer clear of direct sunlight that may cause further browning. Oh, and don’t forget to occasionally rotate your potted fern so that all its fronds get an equal share of the spotlight!
Pests and diseases
All varieties of Boston ferns are pretty good at resisting pests, but too much moisture can lead to problems.
Fungal issues
Over-misting your Boston fern could create a damp environment that’s just perfect for fungal growth. To spot this issue, keep an eye out for spots or patches of mold or mildew on the leaves and fronds. If you see any signs of fungus, isolate the fern from other outdoor or indoor plants, and remove the affected leaves carefully.
To treat this problem, grab a fungicide spray (remember to follow the directions on the label) and give your fern a good misting. To prevent this from happening again, cut back on any misting and make sure your fern has proper air circulation. Keep a close watch to ensure the fungal issue stays away, especially when growing Boston ferns in warmer climates.
Fungus Gnats

If you’re a seasoned houseplant collector, you’ve battled fungus gnats, and if you’re new, you soon will.
Fungus gnats are tiny, winged insects that love damp soil and decaying plant matter, and they can be pretty annoying. Worse, if left untreated, the larvae will feed on and damage the roots and, eventually, kill the plant. Adult gnats are easy to spot flying around your plant, and you’ll usually see them emerge from the soil when you water.
The most surefire way to get rid of these pesky critters is to repot your plant in fresh, clean soil. Heavy infestations may require you to rinse the entire root ball of all soil so that the larvae go with it.
If that’s not an option, let the top few inches of potting soil dry out as long as you can between waterings (gnats hate dry soil). And place yellow sticky traps around your other indoor ferns to catch the adult gnats . . . they won’t see it coming!
To prevent future infestations, avoid overwatering, and keep the area around your fern clean and free of decaying plant matter.
Conclusion
And that wraps up our Boston Fern care guide!
Nephrolepis exaltata truly is a mesmerizing plant that adds a touch of prehistoric elegance to your indoor paradise. It’s no surprise this one is a favorite for houseplant lovers everywhere.
Our Boston fern care tips:
- Provide bright, indirect light, and make sure to protect your fern from harsh direct sunlight.
- Keep the soil consistently moist but not drenched, watering when the top inch of soil has gone dry.
- Aim for a humidity level of 40%-60% and maintain a temperature range of 65-80°F (18-27°C) during the day with cooler nights around 60-62°F (16-17°C).
- Use a well-draining soil mixture that still retains moisture, such as a mix of coco coir, worm castings, orchid bark, perlite, and vermiculite.
We hope this guide has armed you with all the knowledge you need to care for your Boston fern like a pro. Should you have any questions or need further advice, please don’t hesitate to reach out. And if you found this guide helpful, remember to share it with your fellow fern-loving friends!
FAQ
Are Boston ferns toxic?
According to the ASPCA, the Boston fern is not considered toxic for cats and dogs. While it’s still a good idea to keep plants out of the reach of furry friends (and small children), this fern counts as pet-safe!
Should I mist a Boston fern?
Look — houseplants experts disagree on how effective misting is. Some say it’s great, some say it’s a total waste of time. The truth is, it can’t hurt. Boston ferns adore humidity, so mist them if you want, but know it might not be enough! You may need a pebble tray or humidifier.
Keep in mind that Boston ferns are susceptible to fungal infections. If you do mist your fern, be sure not to overdo it. Too much moisture might lead to some troublesome fungus issues.
Are Boston ferns hard to care for?
Boston ferns may look delicate and fancy, but don’t be intimidated — they’re actually quite low-maintenance and forgiving houseplants. They’re suitable for both expert and amateur gardeners looking to add a touch of elegance to their indoor jungle.
Providing them with bright, indirect light, maintaining consistent moisture in the soil, and keeping the humidity levels up are the main factors to care for these beauties. Just pay attention to the fronds for clues about their needs.
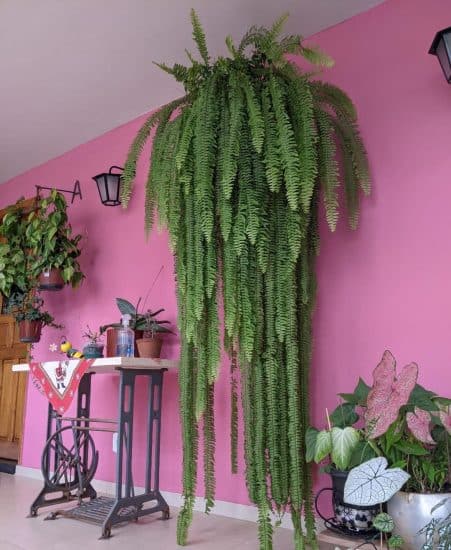
Can you keep Boston fern in hanging baskets?
You bet! Boston ferns and hanging baskets are a match made in heaven. These ferns love to show off their graceful, arching fronds, and hanging baskets provide the perfect stage for them to shine.
Choose a spot with indirect bright light and make sure it’s easy to access because you’ll want to water the soil regularly. Not only will your Boston fern look absolutely stunning dangling from the ceiling, but it’ll also save valuable floor space.
