
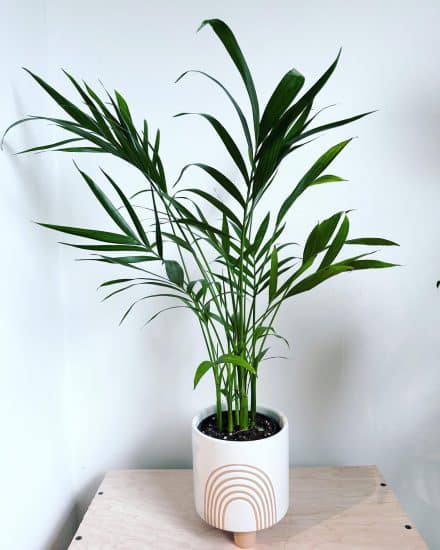
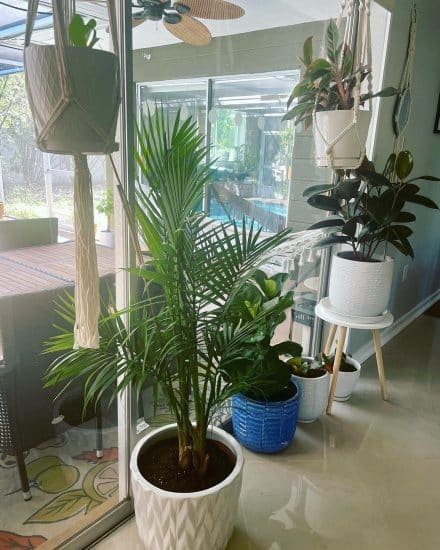
If your living area or office is missing a tropical vibe, look no further than the Cat Palm plant!
(As the name suggests, it’s also a rare pet-friendly plant.)
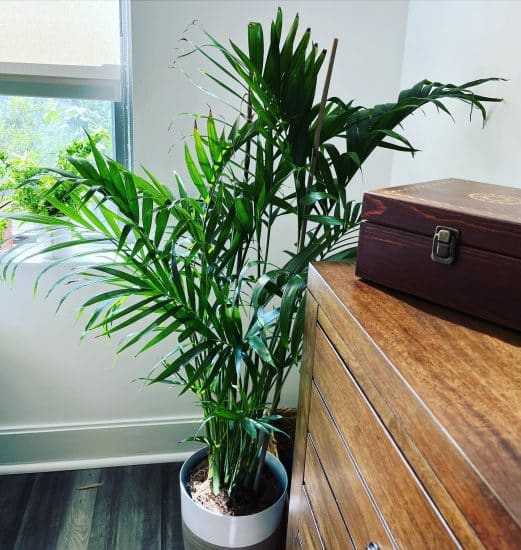
This beauty is a glossy green feast for the eyes, with unmistakable long leafy stems. You can’t really go wrong with putting it in the corner of a room for a little breath of the wild inside (literally—it helps purify the air!).
Cat Palm care is pretty easy, not to mention super rewarding when guests compliment its elegant fronds. Let’s dive into this plant’s origins and how to keep it happy all year long!
Table of Contents
Cat Palm Care Guide
History, habitat, and characteristics
Despite its name, the Cat Palm tree, or Chamaedorea cataractarum, isn’t a palm tree—instead, it’s a slow-growing evergreen shrub. Cataractarum is a tongue twister and comes from the Latin word cataracta, referring to the cataracts (water streaming over wet rocks) where it grows. Nicknames for this plant include the cascade or cataract palm, and Mexican hat palm.
From the Arecaceae family and native to southeastern Mexico and Central America, Cat Palms have been grown and cultivated in homes for centuries. In fact, they were a sign of status and placed in windows to show wealth in Victorian times.
In its natural habitat along streams, the roots of the Cascade palm are submerged in water, offering it the perfect conditions for growth. This plant is one of the only rheophytes in the palm family, which means that it lives in quickly moving currents of water that few other organisms can handle.
In fact, Cat Palm has adapted to move with running water as opposed to resisting it, which helps it stay put during flooding. How?
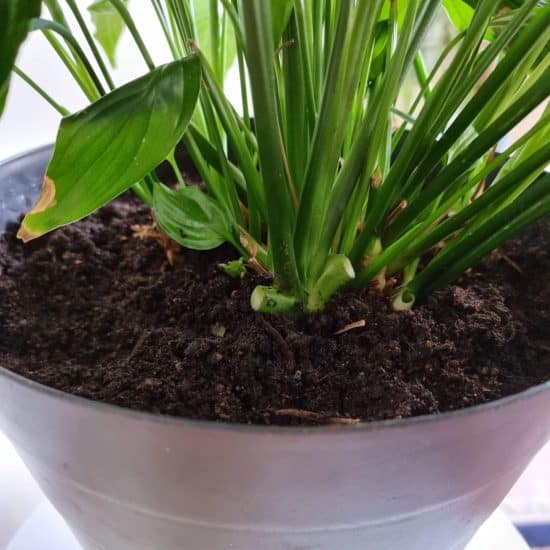
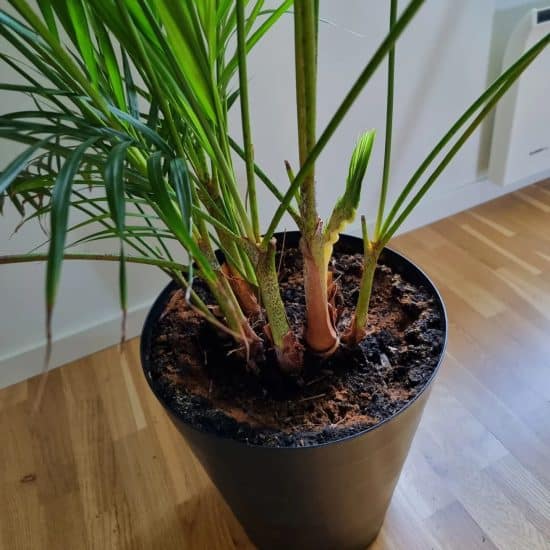
Well, for one, it has no trunk—instead, the cat palm has a clump of stems with long and thin flexible leaf blades, both of which help it go with the flow, so to speak. As the clump’s root ball grows, it creeps along the ground, anchoring the Cat Palm in its original aquatic environment.
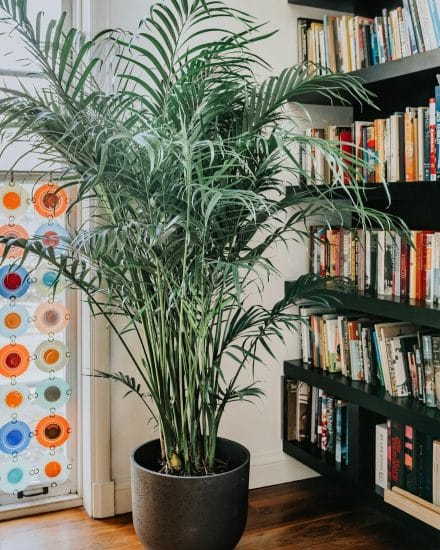
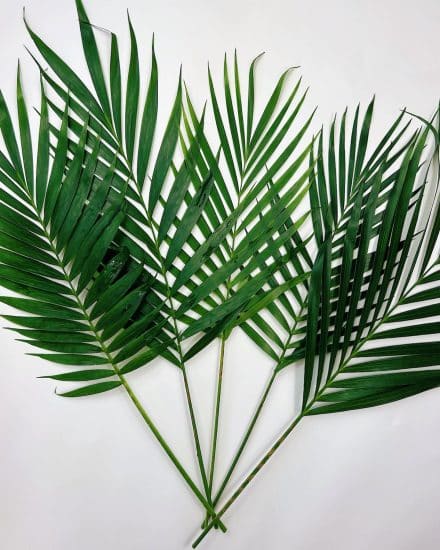
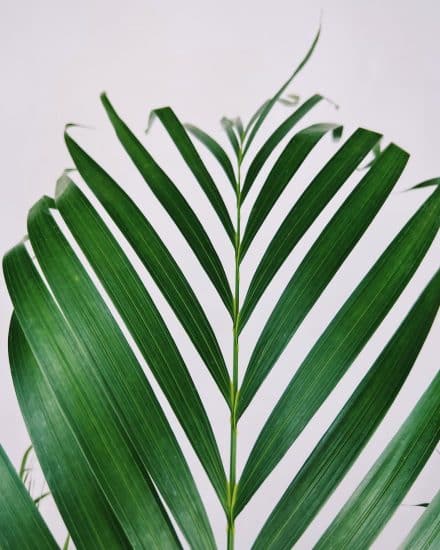
The Cat Palm is well-known for its distinctive cascading fronds. These cane-like, slender stems can grow up to 3-4 feet long, with individual leaflets in pairs of two fanning out like a cat’s tail (part of that adaptation to survive in rushing water).
In its natural tropical environment, the Cat Palm can grow to be over six feet tall, while indoors, it reaches a maximum height of three feet. It usually takes around 5-7 years for this plant’s fronds to grow to full length and approximately 10 years to reach maturity.
(Did you know: Cat Palm flower stalks can be either male or female. Male stalks release pollen and then wither. Pollinated female stalks, however, turn bright orange as their seeds mature.)
Light
Cat Palms require bright, indirect sunlight to thrive. Make sure it’s getting at least 4-6 hours of dappled sunlight a day, but no direct sunlight, which can burn its leaves and stems.
If you notice your Cat Palm isn’t growing as quickly or its leaves are turning a pale color, this is usually an indication that it needs more light. Supplement with fluorescent or LED artificial light if needed.
On the other hand, yellowing leaves, parched tips, or brown spots on the leaves can mean that your Cat Palm is receiving too much sunlight and needs to be moved further away from the window.
Water
When it comes to water, Cat Palm trees like to be kept moist, but never soggy. The amount of water they need varies depending on the age and size of the plant, as well as its environment.
You can test when it’s time to water by poking your finger into the soil: if the first inch or two is still damp, you don’t need to water yet. During the spring and summer months, cat palms should ideally be watered once or twice a week, and during the winter, they should be watered once every week or two.
Overwatering is a potential problem for cat palms, especially for novice gardeners. You’ll know if you’ve overwatered if you see drooping, yellow leaves or brown, crispy tips. If you do notice any of these, hold back on the water until the soil is completely dry.
If you’re using tap water, be aware that this contains dissolved solids like fluoride and chloramine, which can be damaging over time. Using distilled, rain, or tap water that’s sat out for a bit is best.
Temperature and humidity
While Cat Palms are notoriously easy to look after and grow, they still require some special attention when it comes to temperature and humidity levels.
Cat Palms love a warm and cozy average room temperature between 65-80 degrees Fahrenheit. Make sure to avoid areas with cold or hot drafts, like air conditioners or radiators, as this could cause your plant’s leaves to turn yellow.
Temperatures below 50 °F may cause stunted growth, and anything above 80 °F could potentially lead to brown and shriveled leaves.
You’ll also want to create a very humid environment for your Cat Palm, between 40% to 70% if possible, preferably at least 50%. They are tropical plants, after all. To do this, you can:
- Keep it close to other plants so they can share humidity.
- Use a pebble tray. Fill a shallow bowl with rocks and water and place the plant on top, allowing the tray to evaporate and increase the humidity level.
- Use a good old-fashioned humidifier.
- Put it in a more humid environment like a bathroom or kitchen, as long as these areas get enough light.
Soil and planting
Soil is key for providing the best care for your Cat Palm. This plant prefers nutrient-rich soil with slightly neutral to acidic pH, ranging from 6.1-7.5. A light, well-draining potting mix is the goal. I suggest a mixture of:
- 40% potting soil
- 20% peat moss to help retain moisture
- 20% perlite (moisture retention, aeration)
- 10% bark chips
These aren’t written in stone—feel free to experiment and find the right combination of ingredients that work for your specific environment and cat palm.
Pruning
Cat palm trees don’t need much pruning other than lopping off the occasional yellow or brown fronds (these can happen naturally as older undergrowth falls off to make way for the new). Use a sharp, sterilized pair of shears or scissors.
Repotting
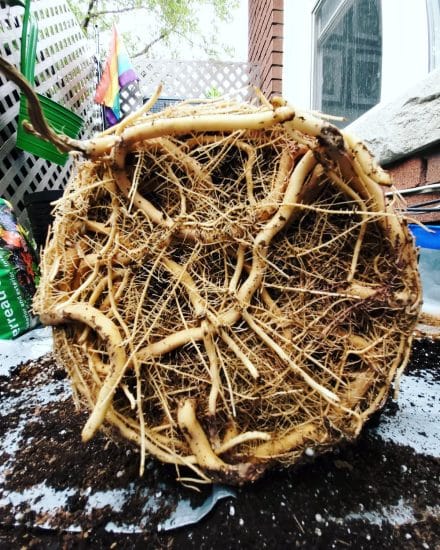
Cat Palm is a slow grower, so you’ll probably only need to repot it every three years or so. When you do, handle its roots gently, since they can be brittle. Use a pot only slightly larger than the previous one in order to avoid root rot, and make sure it has at least one drainage hole.
Pro tip: When it’s time to repot a very tall, mature Cat Palm, you might want to invest in plant dollies or casters to easily move it around—trust me, they get heavy! Supporting stakes may also be advisable if the container or plant is top-heavy, since it may be prone to toppling over. (And nobody wants to cry over a spilt plant!)
Fertilizing
Apply a balanced liquid fertilizer monthly during the growing season and not at all in winter, since the plant will be dormant then and won’t need the extra nutrients. In fact, they might do more harm than good and burn your plant!
We’ve discussed the ideal environment for this plant and some tips for repotting. Now let’s get into the juicy stuff—how to propagate your Cat Palm!
Propagation guide
Cat palm propagation is super easy and offers a great way to expand your indoor garden. Spring is the best season to propagate cat palms, since they’re growing and will be less stressed at this time.
You can do it in two main ways: shoot division or stem cutting. Shoot division is easier, but it takes more time for the new Cat palm root system to grow.
Note: You can technically propagate cat palms by seed, but this requires two plants for pollination, as well as using seeds just after a plant has fruited. It isn’t the most reliable method, and seed germination can take months.
To propagate Cat Palm by shoot division:
- Remove your Cat Palm from its pot and locate the strongest side shoot, or sucker, focusing on the one with the most roots.
- Use a clean, sharp knife to cut away the sucker away, damaging as few roots as possible.
- Place the sucker in a new pot and fill it halfway with a well-draining soil specifically designed for cat palms (see “Soil and planting” section above).
- Gently cover the roots with the remaining potting soil, keeping the leaves above soil level, and water thoroughly.
- Cover the pot with a soda bottle (cut in half) or plastic bag to create a humid atmosphere and provide some shade from direct sunlight.
- Keep the soil evenly moist but not overly wet by watering when it begins to dry.
- Your sucker should be established in 2-4 weeks. Once it is (you can gently tug to make sure it has a root system), remove the plastic and provide normal care!
To propagate Cat Palm by stem cutting:
Using a sharp clean knife, you can cut at least two to three-inch segments of the mother plant and create new plants from that, following the same instructions as above. Cuttings should have some roots or at least be connected to the mother plant’s root system for best results. This can take a bit of skill, but the reward is that new plants will be established more quickly than with suckers.
Not that you know how to make more mini cat palms for lucky family members and friends, let’s learn about how to prevent and treat common issues like brown spots and drooping leaves.
Common issues
Here are a few of the most common issues your cat palm plant can experience, and some trusty tips and tricks on how to treat them.
Brown Spots: Brown spots are a common problem for Cat Palms, and the cause can range from too much direct sunlight, to under or overwatering, to cold temperatures. To fix a light problem, move your Cat Palm to a shadier spot or diffuse any direct sun with a sheer curtain.
Yellow Leaves: Yellow leaves are also a common issue with Cat Palms, often occurring when the plant has too little water or not enough humidity. Make sure to consistently water your plant when the top two inches of soil feel dry
Leaf Curl: Frequent leaf curl is often caused by overwatering, too much direct sunlight, or a lack of nutrients in the soil. Make sure not to overwater, and fertilize every month in the spring and summer. If the problem persists, it may be time to repot into fresh soil with better drainage and more nutrients.
Drooping Leaves: Drooping leaves can indicate either too little water or not enough aeration in the soil. Check the moisture levels of your soil, and if it’s dry, give it a drink! If it’s already moist, try adding an ingredient that helps aerate the soil, like charcoal or gravel.
Diseases and pests
While annoying diseases and pesky pests can crop up on cat palms (and most plants) from time to time, conquering them and preventing their recurrence in the future isn’t difficult.
Fungus. Fungi like Fusarium wilt are another common enemy to watch out for with Cat Palms. Fungus can be detected by a white residue on top of the soil or on the leaves, yellowing, or black and brown spots on stems and leaves. If this is the case, it’s likely due to overwatering. To protect against it, only water when soil is dry, and make sure your potting mix has good drainage and plenty of air circulation. Be sure to remove any affected leaves and cut off any dead roots.
Bugs. Mealybugs, thrips, fungus gnats, scale, and especially spider mites are the main culprits when it comes to pests on cat palms. They can be identified by white insects congregating on the underside of the leaves or around the stems. Isolate the plant so infections do not spread to others in your collection, and use a diluted soapy water solution to kill off any bugs. Rubbing alcohol on a cotton swab can help remove them as well. If you need a more heavy duty option, consider a diluted neem oil solution.
Root Rot
This is a common cat palm affliction, and it can be easily spotted through wilting and yellowing leaves, as well as discolored soil. To check for root rot, carefully inspect the soil to see if it’s waterlogged. If it is, refrain from watering and allow the soil to become dry to the touch. If the issue persists, repot the plant in fresh, aerated soil and make sure its pot has adequate drainage holes.
Conclusion
An easy-maintenance, sophisticated addition to any room, the palm plant’s bold green leaves adorn arcing fronds straight out of a dream coastal vacation. These plants may not signify wealth anymore, as they did in Victorian times, but that doesn’t mean they don’t scream good taste.
Provide your Cat Palm with bright but indirect light, common household temps, moderate to high humidity, regular watering, and well-drained soil, and you’ll have a bit of the tropics in your own home for years.
If you found this article informative, share it with a friend! Feel free to ask us any questions you might have in the comments—we’re always happy to chat with fellow plant lovers.
FAQ
Is a Cat Palm a good indoor plant?
These plants make excellent indoor palms because they’re easy to take care of, prefer household temperatures, and liven up a space. Best of all, they don’t grow quickly, so they don’t need to be repotted often and won’t take up a ton of space (at least not for a while!).
Can Cat Palm take full sun?
Nope! Although they like bright light, it has to be indirect or the strength of the rays could burn their leaves and stems.
Is Cat Palm the same as Sago Palm?
The two may resemble one another in that both have dark green, shiny fronds, but the sago palm (Cycas revoluta) has a trunk and a more upright, erect growth habit than the plant palm’s arching, fountain-shaped one.
Is the Cat Palm safe for pets?
Yes! According to the ASPCA, the Cat Palm (Chamaedorea cataractarum) is non-toxic to both dogs and cats.
Sources
- https://palmweb.org/cdm_dataportal/taxon/208a933e-0018-43bd-b3ab-b6030db022d4
- https://powo.science.kew.org/taxon/urn:lsid:ipni.org:names:54852-2/general-information
- https://mrec.ifas.ufl.edu/foliage/folnotes/chamaed.htm
- https://www.aspca.org/pet-care/animal-poison-control/toxic-and-non-toxic-plants/chamaedorea
