
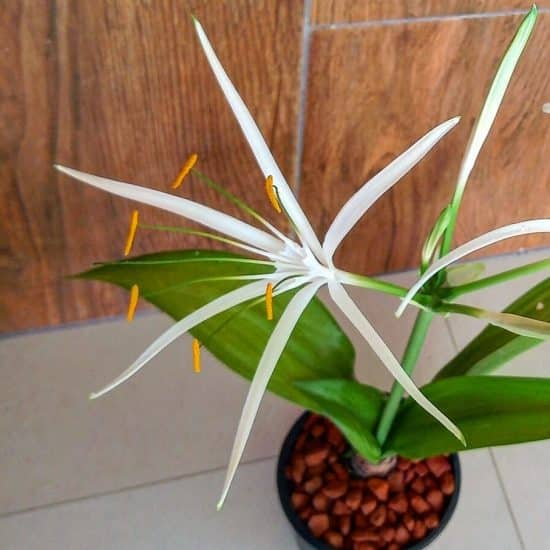
The Spider Lily, also known as the Naked Lily or Hurricane Lily, is a bewitching houseplant that will weave its way into your heart with its delicate slender petals, long stamens, and captivating fragrance. This plant is destined to become an irresistible addition to your green family.
We’ll cover the Spider Lily’s ideal environment, the differences between varieties, and how to help them bloom. Just think of us as the fairy garden mothers, guiding you along the path to successful Spider Lily care.
Table of Contents
Spider Lily Plant Care Guide
History, Habitat, and Characteristics
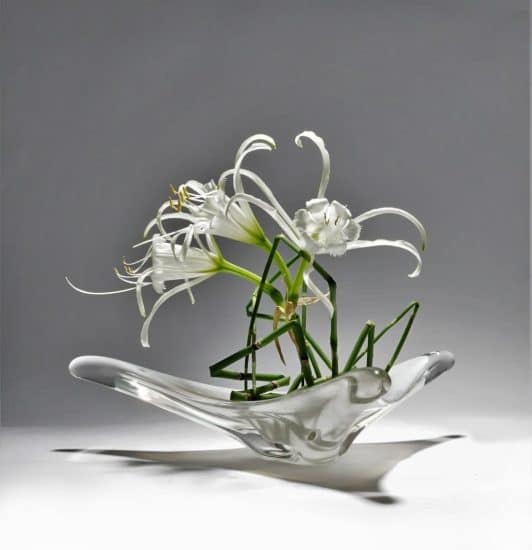
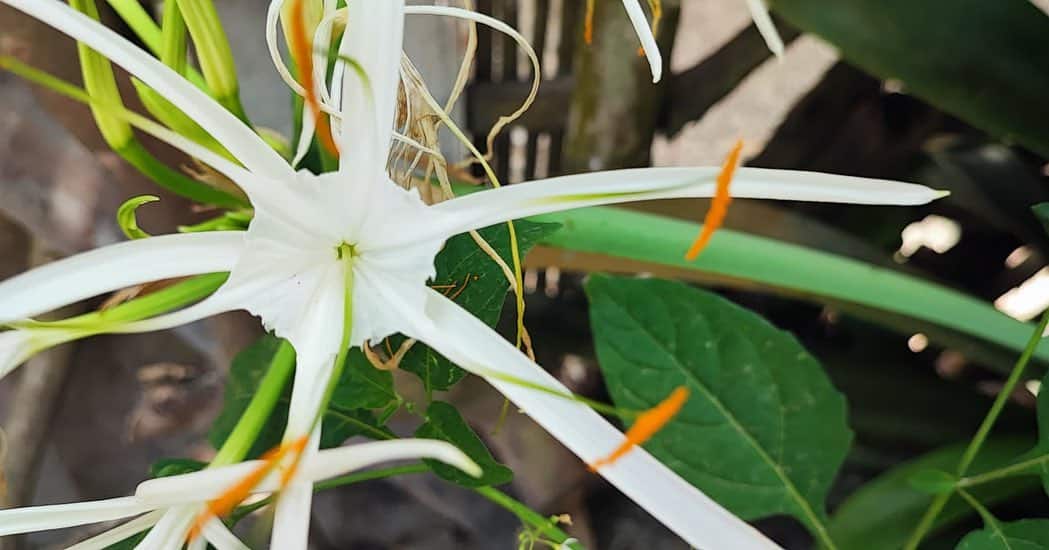
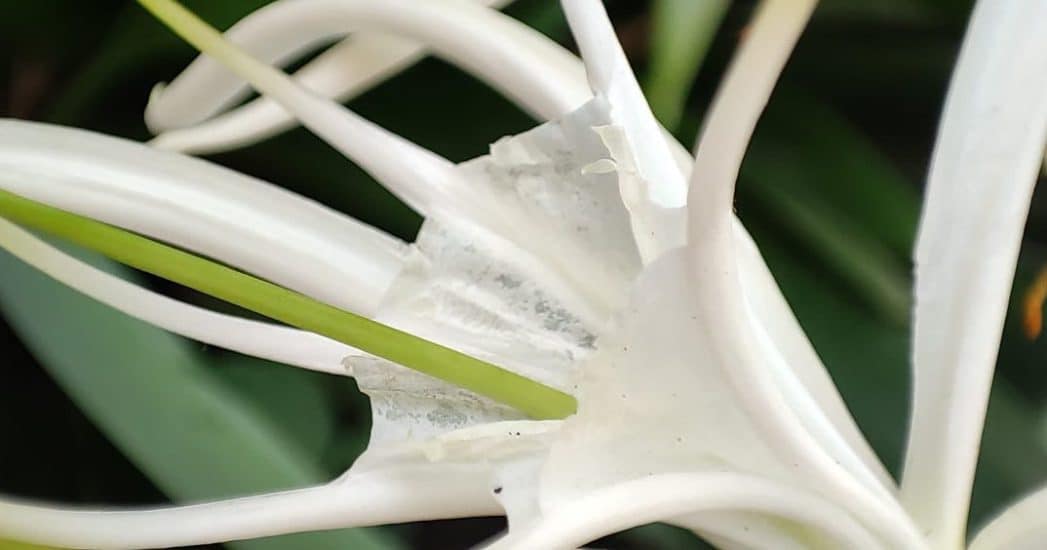
The Spider Lily (Lycoris spp.), including other varieties, Lycoris radiata and Lycoris aurea, hails from Asia and is a member of the Amaryllidaceae family, or Amaryllis family. Its unique look, thanks to those long stamens, or “spider legs,” comes in a vibrant range of colors like red, orange, white, pink, and even yellow, like the golden spider lily.
Despite their dainty appearance, Spider Lilies are tough cookies. Their hardiness comes from roots similar to onions and garlic, making them resilient and easy to care for in various environments and temperatures.
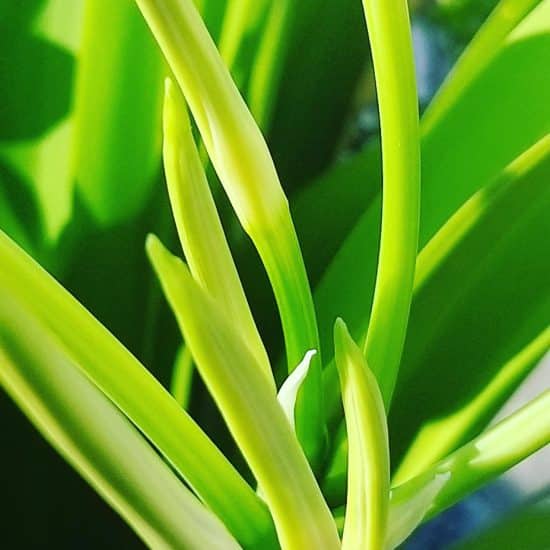
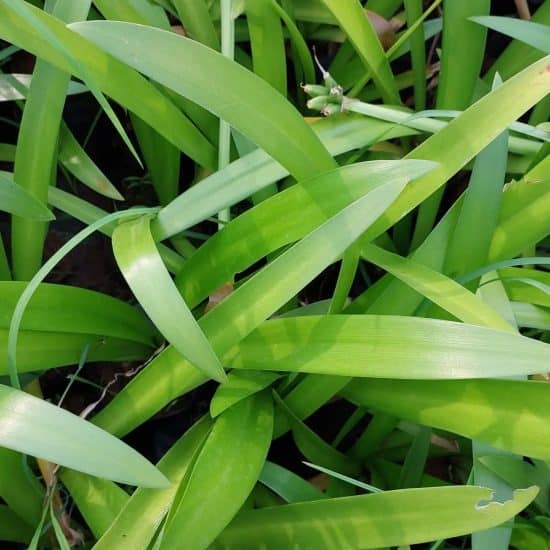
The best part? Once the blossoms fade, a process known as “spent blooms,” they’re replaced by lush blue-green foliage that lasts through winter until spring! So, you’re guaranteed a pop of color all year round!
Originally found in damp woodlands and grassy areas across Asia, spider lilies can adapt to different conditions, making them a versatile addition to your home. These flowering plants thrive in full sun to partial shade, and they should be planted in well-drained soil and in containers with good drainage.
Varieties
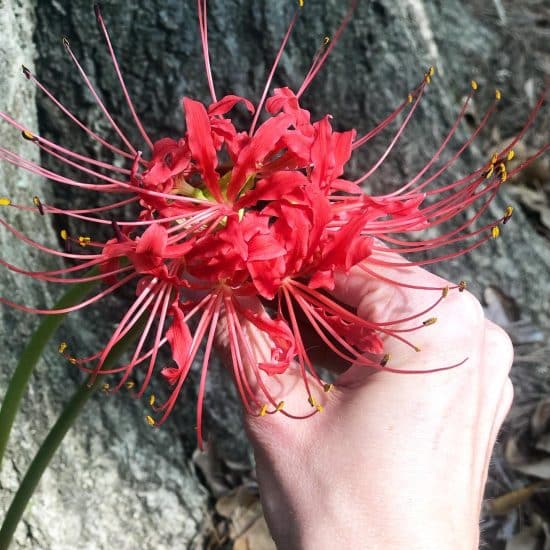
The Red Spider Lily (Lycoris radiata) variety flaunts fiery red petals that curl back to reveal long, slender stamens resembling delicate spider legs. This striking plant is often seen decorating gardens and landscapes with its vibrant blossoms in late summer and early fall.
On the other hand, the Golden Spider Lily (Lycoris aurea), as its name suggests, sports gorgeous golden-yellow petals that curl back similarly to its red counterpart.
Light
Spider Lilies thrive in full sun to partial shade. To help your Spider Lilies bloom magnificently, ensure they receive at least six hours of full sun, as this kind of lighting encourages beautiful flowering.
If your Spider Lily isn’t getting enough light, you might see pale foliage, slow growth, and fewer flowers, which can be disappointing.
Don’t worry if your space doesn’t get much natural sunlight; you can always use artificial light (LED or full spectrum) to give your Spider Lilies the boost they need to bloom their best.
On the other hand, if your Spider Lilies get carried away with sunbathing and receive too much direct sunlight, you might encounter some issues. Foliage can get scorched or wilted; leaves might turn yellow or develop brown, crispy edges. If this happens, it’s time to relocate your plants to a spot with more filtered or indirect sunlight.
Water
When you see Spider Lily foliage start to degrade in spring, put a pause on the watering. You can pick it back up once the flowering begins again in late summer or early fall. During its active growth phase, your Spider Lily will appreciate you keeping the soil moist but definitely not soggy.
So, what are the signs of underwatering Spider Lilies? You might notice wilted, shriveled leaves and a general droopy appearance. If that’s the case, it’s time to give your plant a little more love by keeping the soil consistently lightly moist.
On the flip side, signs of overwatering can be a bit sneaky. You may see yellowing leaves, rotting roots, or even mold growth. Not fun! To fix this, make sure the soil has the chance to dry out before the next watering session.
Our watering tips:
- Opt for well-draining soil and pots with drainage holes to steer clear of waterlogged roots.
- When watering, give it a thorough soak, allowing excess water to drain out of the pot. The goal is moist, not soggy soil.
- Make it a habit to check the soil moisture by sticking your finger about an inch into the soil. If it’s dry, go ahead and water it.
- Based on the plant’s growth phases, adjust your watering routine as needed: decrease the frequency during spring, and ramp it up during late summer and fall.
- If you’re unsure about when to water, it’s better to err on the side of underwatering. Spider Lilies tend to bounce back better from slightly less water versus too much.
Temperature and Humidity

When it comes to keeping your Spider Lilies happy and healthy, it’s important to consider both temperature and humidity.
Spider Lilies prefer comfortably warm indoor temperatures. They thrive in temperatures between 65-80°F (18-27°C) and don’t tolerate cold temperatures very well, especially during winter. In fact, temperatures below freezing can damage or even kill the plant. Because of this, be cautious about placing your Spider Lily near windows or doors that may experience drafts or colder temperatures, particularly during winter months.
Adequate humidity is generally not an issue for Spider Lilies as long as the soil stays moist with sufficient drainage. However, it’s still important to monitor the humidity levels in your home to ensure your plant is thriving.
If you notice your Spider Lily’s leaves becoming brown, curling, or drooping, this could indicate that the humidity is too low. If leaves show signs of distress, consider increasing humidity by placing a tray of water and pebbles beneath the plant or using a humidifier.
Soil and Planting
To ensure Spider Lily plants thrive, you’ll want a potting mix that drains well with a slightly acidic pH. You can amend the soil yearly with bark, compost, or even regular mulch.
Poor soil can lead to root rot, yellowing leaves, and stunted growth. In this case, it’s essential to amend your soil with the recommended materials or adjust the potting mix in your container. Remember that nutrient-rich, well-draining soil is the foundation to grow Spider Lilies successfully.
Since Spider Lilies grow from bulbs, repotting may be necessary when the plant becomes too crowded. When you notice the plant struggling, gently dig up the bulbs and check if they are densely packed together. If so, it’s time to repot. You can replant them in a larger container or space with fresh soil, following the same planting guidelines.
When planting Spider Lily bulbs, place them 6-12 inches apart and leave 1/4 inch of the bulb’s top sticking out above the soil line.
Spider Lilies thrive in both ground and containers. When potting Spider Lilies, choose a container with a few drainage holes. Make sure to give your Spider Lily enough room to grow and spread out by maintaining the recommended spacing.
Fertilizing
For fertilizer, we recommend using a high-nitrogen fertilizer in the early spring, then switching to a high-phosphorus fertilizer, like a 3-5-4, after flowers bloom in the fall.
Signs of over-fertilization may include yellowing or browning leaves, wilted growth, and burned roots.
To resolve this issue, stop fertilizing immediately and flush the soil with water to remove excess fertilizer residue. Resume fertilization as recommended, using the appropriate ratio and timing.
Propagation
We recommend propagating Spider Lily, also known by its common name “naked stem,” using the division method.
Propagating Spider Lily by division:
- Timing is everything. Wait until your Spider Lily plants are a few years old before dividing them. The perfect time to work your magic is right after dormancy, in early summer. For this process, patience is a virtue!
- Start by carefully digging around the base of your Spider Lily, making sure not to harm those precious bulbs. Once the soil is loose, gently lift the entire plant out of the ground.
- Now it’s time to separate those bulbs. Pull them apart gently, ensuring each one has a healthy root system still attached.
- Get the new plant home ready. Find a pot that drains well and prep the soil by loosening it up and adding some nutrient-rich amendments, like compost or well-rotted manure.
- Time to plant your new Spider Lily babies. Place the bulbs in new soil, keeping them at the same depth as before, ideally at ground level. Don’t forget to give them some breathing room by spacing them appropriately.
- Water and nurture. Give the bulbs a good drink of water after planting, and keep up the hydration as they settle in. Place them in bright, indirect light and adjust your care routine as needed to help them thrive.
Common Issues
Planting Bulb Depth
If your Spider Lily plants aren’t showing off those gorgeous blooms or struggling to grow, you might have planted the bulbs too deeply or with the pointed tip facing the wrong way (oops!).
When planting bulbs, just remember the handy rule: plant them about three times as deep as their height and let that pointed tip face the sky.
To fix this little mishap, carefully dig up the Spider Lily bulbs, being gentle not to damage them, and replant at the right depth and with the pointed tip up.
If you’re not entirely sure about the planting depth and direction, a helpful idea is to place a marker in the soil where you planted your Spider Lily bulbs. This way, you can keep an eye on their progress and make necessary adjustments if needed!
Yellowing Leaves
If you notice your Spider Lily’s leaves turning yellow during its active growing period in spring and summer, it’s probably a sign of overwatering. This can lead to root rot, which not only turns the leaves yellow, but also makes your plant more susceptible to pests and diseases.
So how do we fix this? First, take a moment to check the soil moisture. If it feels consistently wet, cut back and let the soil dry a bit between waterings. Make sure your plant pot has proper drainage holes (those are super important!) to help excess water escape, and consider adding perlite or sand to the soil mix for better drainage.
But if your Spider Lily’s still singing the yellow-leaf blues despite these changes, you might need to repot your plant in some fresh soil that drains well to give it a fresh start!
Pests and Diseases
Spider Mites
Spider mites are super hard to see with the naked eye, but if you notice webbing on the leaves and stems, it’s time to act.
First things first, get your Spider Lily away from your other plants — we don’t want those mites spreading. Give the plant a good shower to wash off the mites, as they hate water.
Then, show them who’s boss by spraying your plant with neem oil — make sure you cover both sides of the leaves. Repeat this every few weeks until you’re sure the mites have packed their bags.
To keep those mites from coming back, maintain a balanced watering schedule and wipe the leaves with a damp cloth occasionally to keep them clean. You can even introduce some friendly critters like ladybugs to munch on any remaining mites — nature’s pest control!
Root Rot
Root rot is the most common indoor problem for Spider Lilies. It all comes down to overwatering and poor drainage. Soggy soil and rotting roots will show up in yellowing leaves, a funky smell, and black or brown mushy roots.
To help your plant bounce back, gently remove it from its pot and snip away any rotten roots with sterilized scissors. Fresh, well-draining soil with perlite, pumice, or LECA will improve aeration and drainage. Oh, and don’t forget to clean out the old pot — better yet, get a new one for a fresh start.
Make sure your Spider Lily is planted in a pot with drainage holes. Let the soil dry out a bit between waterings, and never let your plant take a bath in standing water.
Conclusion

That’s a wrap for our Spider Lily care guide!
With its enchanting blooms and low-maintenance attitude, the Spider Lily (Lycoris spp.) is sure to make your indoor space feel more lively and inviting.
We hope this guide has provided you with the confidence you need to care for your Spider Lily plants. Now you can enjoy their beauty for years to come! If you found this guide helpful, please share it with fellow plant lovers or on social media.
Do you have any questions or concerns about Spider Lily care that we didn’t cover in this article? Drop us a line — we’re always here to help!
Happy gardening!
FAQ
Is the Spider Lily poisonous?
The Spider Lily contains toxic alkaloids, making it poisonous to humans and pets. So, admire your lovely Spider Lily from a safe distance and always keep it out of reach from curious pets and children.
Do you cut back Spider Lily?
Yes, it’s generally a good idea to trim back your Spider Lily after its blooming season has come to an end. Cutting back dying and yellowing leaves not only keeps your plant looking tidy and well-maintained, but also helps prevent diseases and pest infestations. However, make sure you don’t remove the green leaves, as they’re crucial for photosynthesis and the plant’s overall health.
Is Spider Lily an indoor or outdoor plant?
The versatile Spider Lily can be successfully grown both indoors and outdoors, as long as you maintain its specific care requirements. When grown outdoors, Spider Lilies make a stunning addition to gardens, borders, and landscape designs.
Just make sure your Spider Lily receives adequate light, proper watering, and the right temperature and humidity levels, whether it’s basking in the great outdoors or nestled comfortably in your indoor sanctuary.
How do you encourage Spider Lilies to bloom?
To encourage blooming, you’ll want to place your lovely lilies in a bright spot with at least 5 to 6 hours of direct sunlight. Ensure they receive consistent moisture during the growing season.
Then, as summer sneaks in, give your Spider Lilies an early dormancy period. This break in watering promotes a healthy life cycle, allowing them to show off their stunning blooms in late summer and early fall. Voilà! You’re on your way to a gorgeous display of Spider Lily flowers!
