
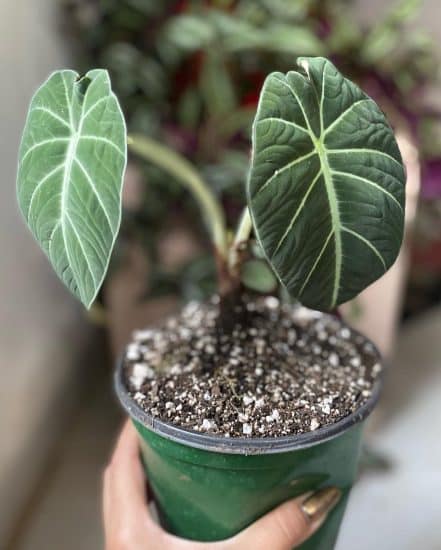
Alocasia is an exciting genus with many species that make for a striking indoor plant. With their trademark large arrowhead-shaped leaves and contrasting veins, they have surged in popularity and growers can barely keep up with some cultivars.
However, they do have a bit of a reputation for being difficult to care for when grown indoors, especially for beginners.
Don’t worry. In this article, we’ll provide you with practical tips and advice to help you care for your Alocasia plants so that you can avoid the most common mistakes that people make.
There is so much variety (especially with size) in this genus, and we’ll help you pick out the perfect Alocasia that fits not just your style and home, but also your schedule.
Let’s dive into the wonderful world of Alocasia in this complete care guide!
Table of Contents
Alocasia Care Guide
History, habitat, and characteristics
Alocasia, or elephant’s ear, is a stunner of a genus. These tropical plants are more popular than ever and it’s no surprise once you see one in person. I know I was struck.
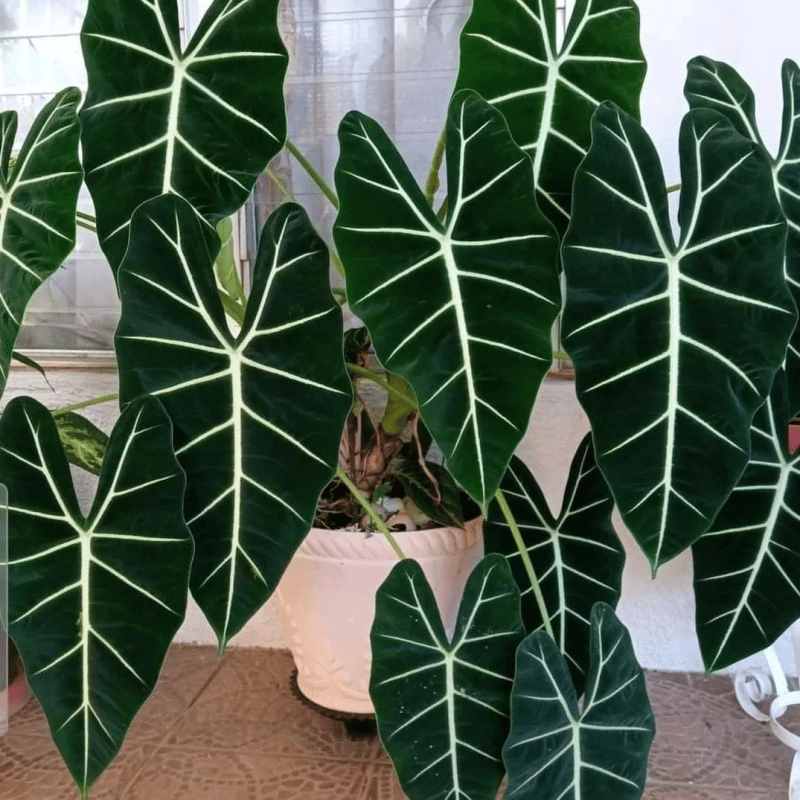
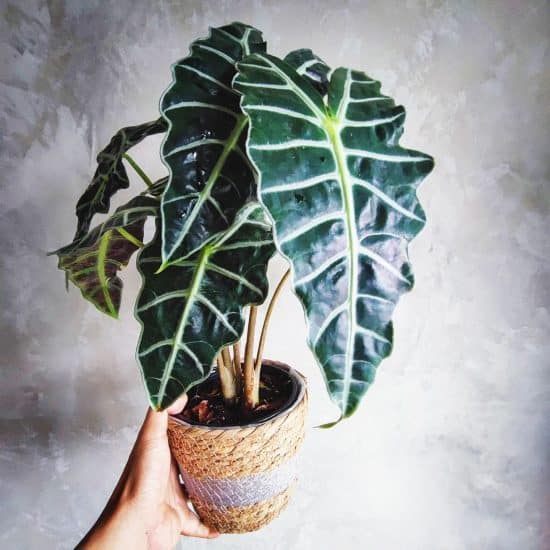
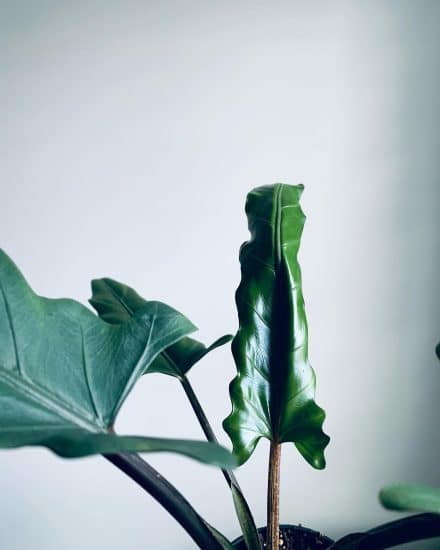
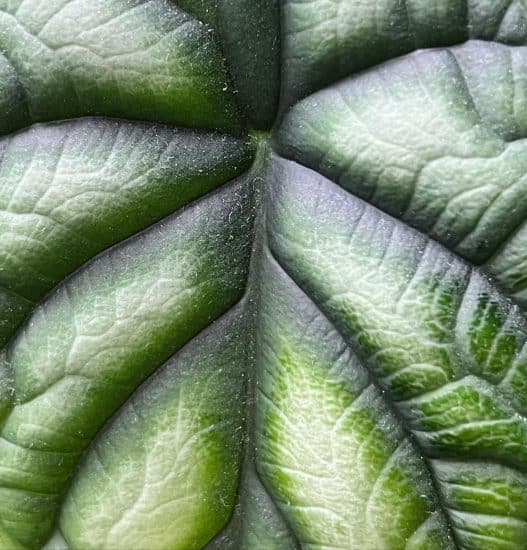
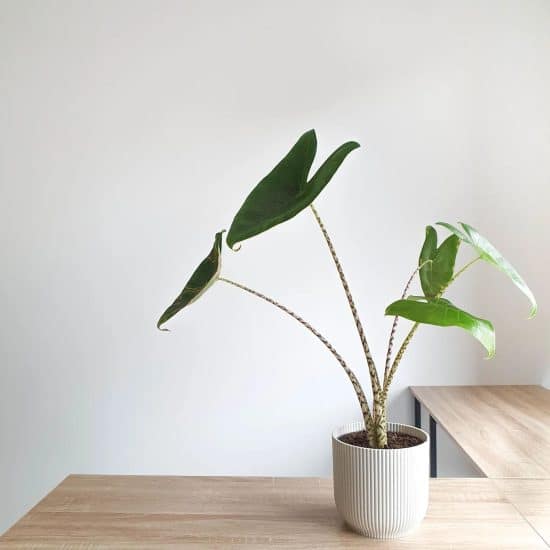
As indoor plants, they’re best known for their large arrowhead-shaped leaves, contrasting veins, and a texture ranging from glossy to shimmering velvet.
The flowers are classical aroid, with an upright white spadix surrounded by a green-tinted white spathe.
As an indoor plant, they can be a bit difficult, so we’re going to start by recommending Alocasia amazonica (we have a guide linked below) as an easy Alocasia to start with.
Why?
It’s readily available, which means you can replace it if care goes a bit wonky. There’s also a large community of people who own this Alocasia (myself included!), so it’s a lot easier to find support if you have an issue.
If you pick out a rare cultivar that only the seller has ever heard of… it’s going to be an expensive lesson down the line.
Alocasia plants can get huge, but the genus has enough variety that you can really pick based on the size of plant your home can handle.
Why is care so difficult? It really comes down to watering, which we’ll cover in a moment.
Alocasia species

Alocasia varieties are known by many names, including Elephant Ear and African Mask Plant. We’ll cover some of the most popular species and embed links to our full care guides on those we’ve published so far.
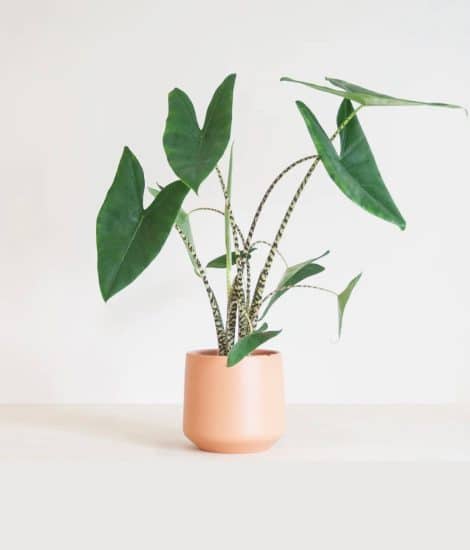
Alocasia zebrina, also known as the Zebra Plant, earns its name from its light green stems with brownish/black striping.
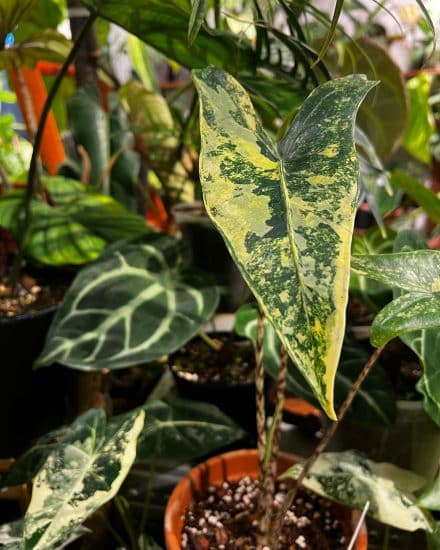
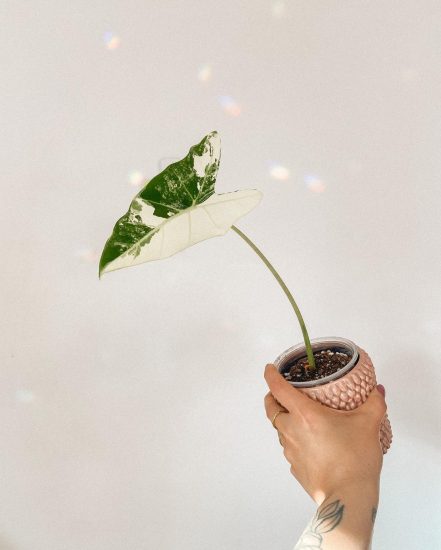
Alocasia frydek features dark velvety green leaves distinct from other species due to its narrower and pointier foliage. It rarely produces flowers indoors, but has a rare variegated version with white, cream, and yellow variegation known as Alocasia micholitziana variegata or mint.

Alocasia Black Velvet, a jewel Alocasia due to its small size, features dark green, velvety leaves with silver veins.
Alocasia amazonica is a hybrid plant produced by crossing two other Alocasia species: Alocasia longiloba ‘Watsoniana’ and Alocasia sanderiana. Grows up to five feet tall. Despite its intimidating size, this plant is a slow grower and can take up to five to 10 years to fully mature.
Alocasia polly, a smaller version of Alocasia Amazonica, features a dark green base that gets lighter towards the middle, growing to be 2 feet tall less than a foot wide. A slow-growing plant with deep purples and pinkish stems.
Alocasia “Dragon Scale” has leaves that look like we imagine a dragon’s leathery skin, and produces large dark leaves with deep purple veining.
Alocasia “Silver Dragon” has thick, broad leaves with dark green veins and a silver sheen, a fantastic hybrid with a unique look that will capture your attention daily.
Alocasia “Purple Sword” features wavy edges and purple highlights underneath the leaves. This Alocasia can get pretty large.
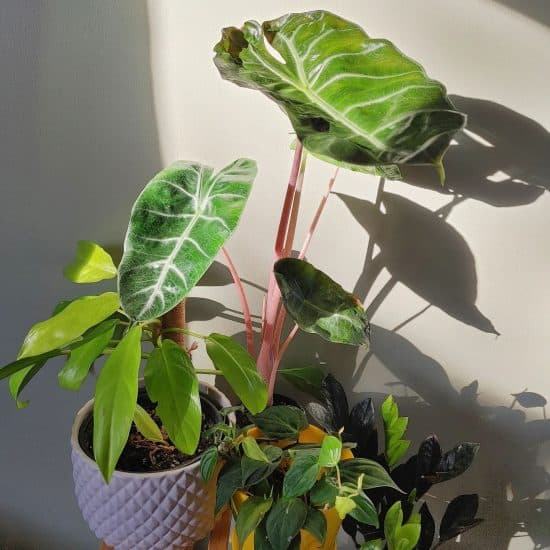
Alocasia “Pink Dragon” has one of the prettiest stems of any plant, let alone any Alocasia. With deep pink petioles and beautiful blunted leaves, this plant can reach over 4 feet tall. Requires lots of fertilizer during its growing season.
Alocasia azlanii is a rare diminutive Alocasia that’s still pretty hard to get ahold of. This plant has stunning reddish-pink leaves bordered by dark green.
Light
Alocasia are used to getting light filtered through the tree canopy and do not tolerate direct sunlight. Medium to bright indirect light is best.
If you have a north-facing window, you can likely get away with having it pretty close, but otherwise, you’ll want to give it some distance or add a curtain.
Signs of insufficient light include a spindly, leggy-looking plant. You might also notice the younger Alocasia leaves looking undersized and not growing very quickly. You’ll want to move your plant into more light if possible, rotate, or add a supplemental grow light.
If you have an Alocasia species with lighter leaves, it’s likely going to require more light. Just like variegated plants, less chlorophyll in the leaf usually means a preference for brighter light.
Too much direct light could look like sun-bleached leaves that turn brown and crispy, or actual burn marks going through the surface of the leaf. You’ll want to shift your plant back a bit from the window and really let it bathe in that bright indirect light.
Water
Watering your Alocasia is hands down the most difficult part of owning it: they’re a lot pickier than most indoor plants you might own.
If you know you have a tendency to over-water, this is probably your chance to cut back because this plant will punish you (and itself) for any mistakes.
Alocasia are tricky — they love moist soil but easily succumb to fungus. And boy do they show any unhappiness with how they’ve been watered in their leaves.
Since Alocasia leaves grow in a series, you really only have a few chances to get watering right because they’ll drop those leaves very quickly.
Our usual advice of touching the soil to check for a plant to be completely dry doesn’t quite work. You want to feel for something a bit more nuanced, that it’s about to dry out. Unfortunately, trial and error is the easiest way to learn.
Since Alocasia show watering issues on their leaves so readily, I really recommend keeping it in a location where it has a lot of visibility. And if a new leaf is forming: you really need to pay attention because it’s going to be ridiculously thirsty.
Signs of overwatering and underwatering will be yellowing leaves, usually the largest or lowest leaf on your Alocasia. If you need to remove it, don’t worry too much about cutting into the petiole because they tend to heal/scab over pretty quickly.
Temperature and humidity
If you’ve made it this far, fortunately, the most difficult care requirements are all behind us.
Alocasia likes its temperature to be as warm as possible in your home, and doesn’t like drafts at all. Try to keep things 65 degrees or higher.
Normal household humidity is fine, and if you do mist, make sure to wipe the leaves down so they don’t stay wet for too long, as this can promote rot and some pests.
If you’re having trouble keeping that humidity up, here are a few things you can do:
- Set up a pebble tray: rocks, water, and a shallow tray. The water evaporates from the increased surface area of the stones and gives the local humidity a boost of 6-7%.
- Group your plants together and let them form a microclimate — just make sure they don’t have any pests and that they all want similar levels of humidity.
Anything beyond that is probably unnecessary. Just make sure to keep your plant off of radiators or away from dry heat in the winter, and the naturally humid environment of your home should suffice.
Soil and planting

Alocasia prefer soil that’s well-draining but also capable of retaining water. Yup, typical needy tropical plant.
So what can we do?
You really want a good aroid mix, which you can either make yourself or buy from the store. It should contain perlite, coconut husk, horticultural charcoal, and worm castings.
If you can’t find an aroid mix or want to use what you already have, 80% potting soil to 20% cactus mix works great. If you place this in a terracotta pot, excess water will be able to exit pretty quickly.
Alocasia love to be fertilized, at least monthly while you see it growing. Avoid potting soil with slow-release fertilizer already mixed in. Instead, use a balanced liquid fertilizer diluted to 50% or less strength.
Not all plants go dormant in the winter, and if yours doesn’t, you don’t need to stop fertilizing, just match it to the growth of your plant. The larger the leaves are, the more regularly you can fertilize. With fertilizer, less is more, so start slow as you calibrate.
Too much fertilizer will look like burnt leaves, you’ll need to flush out the soil with fresh water and cut back your frequency or increase the dilution.
Alocasia prefer a small pot, so keep it in the nursery pot it came in. When repotting, go an inch larger at most, and check for roots coming through the drainage holes (they should have drainage holes) to know if your Alocasia is becoming root-bound.
Propagation guide
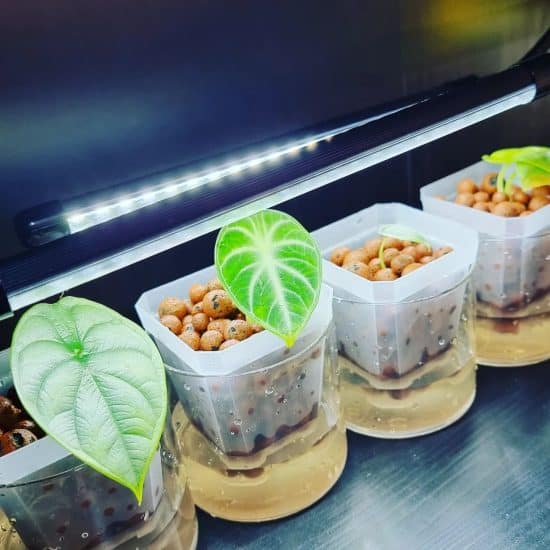
Are you ready to expand your Alocasia plant collection? Since plants in the Alocasia genus can’t be propagated by stem cuttings, we’ll instead cover division propagation and corm harvesting in this guide.
If you haven’t done it before, it’s a little tricky. But because you’re bringing along mature roots, it’s often a lot less stressful on the plant.
To propagate Alocasia plants by division:
- You’ll want to give the plant a good soak. Getting the roots wet really helps with prying them apart.
- Visually inspect the roots and see where they can naturally be divided.
- Use a sterilized knife to make a cut and pry apart the plants. You can use the same kind of soil mixture that your mother plant is in, follow our Alocasia soil guide, or use LECA.
- Take your newly potted plant and place it in a bright area, keeping a special eye on both plants for the next few weeks to make sure they’re still healthy.
Alocasia plants also have corms which you can harvest. This is great for when your roots are pretty tangled up, but does take a fair bit longer and has a lower success rate than division.
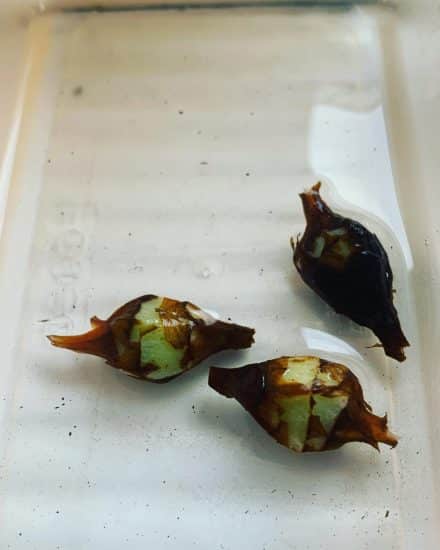
Corm harvesting:
- For a corm harvest, you’re looking for bulbs in the soil. With a mature plant, you’ll see some, and they’ll come off pretty easily.
- Use sterilized shears to remove any corms still attached to the root system, trying not to cut more than you have to.
- Peel off the exterior of the corm before propagating by soaking it in water with the rougher side facedown.
- You’ll want to cover the corm with a bell jar or another clear barrier to keep humidity in and as high as possible.
- Once you see roots take form, place it into a larger jar of water until they mature.
- If you see roots reaching 2-3 inches and a first leaf forming, it’s time to replant in soil. Keep it moist and in a bright, humid environment. Get out that pebble tray!
Common issues
Alocasia does suffer some of the same common issues that other houseplants experience.
(Human condition… meet humid conditions?)
Once you get a routine down, you’ll likely not experience any of these issues, but in the meantime, we do need a way to figure out their causes and what to look out for.
Yellowing leaves
If your Alocasia leaves are yellowing, this is likely an issue with inconsistent watering, so both under and overwatering could be the problem. The solution is to really double-check the care principles we’ve covered so far.
A checklist for yellowing leaves to go over:
- Is my Alocasia planted in a pot that’s too large with too much soil volume? Repot and water less frequently.
- Am I noticing soggy soil or only having to water once every few weeks? Add perlite to your potting mix and check that your pot has a drainage hole.
- Are all leaves turning yellow simultaneously? When temperatures drop suddenly, this can shock your plant, so try to avoid large temperature fluctuations and keep your Alocasia away from air conditioning and cold drafts.
Brown leaf tips
Also typically caused by a water issue, most likely underwatering, if it’s concentrated at the tip. If the browning extends around the entire edge of the leaf, humidity is too low. If the brown leaves seem crispy all over, it could also be too much direct sunlight.
Diseases and pests
Alocasia are especially prone to spider mites and root rot, so we’ll cover both.
Spider mites
These are often found in drier air and they really don’t like moisture (unlike the next problem we’ll cover). You’ll often notice their webbing first unless you have a magnifying glass or much better vision than I do!
By the time they’ve formed webs, it’s often a pretty advanced infestation, so you’ll want to wash them down (remember, they hate wetness). After you’ve rinsed off your plant, make sure to isolate it from others (and inspect them too) while applying neem oil for the next month or so. You can treat both the leaves and soil and this should knock them out pretty quickly.
Make sure to check underneath any leaves before you bring an Alocasia home — that’s the most common way you’ll get these bugs.
Root Rot
Root rot is caused by compacted soil that’s allowed to stay moist for too long. If you see a lot of yellowing or wilting leaves and the soil feels pretty wet or smelly, this is likely the culprit. Check the roots and see if they look dark and slimy/mushy. If so, you need to cut off any affected roots and replant in fresh potting soil.
Make sure to water less frequently, don’t mist the plant, and allow that soil to almost dry out completely before watering again. Also, consider adding perlite or another similar porous substance to really add aeration to that potting mix.
Conclusion
The genus Alocasia features a beautiful collection of species that are far more prized for their foliage than their flowers.
Take care of them just right (looking at you, watering can) and they’ll reward you with new growth that’s spectacular to witness as those young leaves unfurl.
In summary:
- Make sure your pot has at least one drainage hole for excess water, but… aim for a few. Fungal infections are common, and Alocasia is especially susceptible to root rot.
- Avoid slow-release fertilizer already mixed into your soil. You’ll want to use a diluted complete liquid fertilizer instead; apply monthly if you’re seeing growth.
- Move the needle closer to high humidity with a pebble tray, but avoid frequent misting unless you’re planning on wiping down your leaves after.
Prettier than the name “elephant ear” would have you guess?
Believe it.
(Sorry, elephants.)
As always: take care and drop us a line with pictures of your pretty plants or any questions you might have.
FAQ
Is Alocasia toxic to pets?
Yes, Alocasia plants are toxic to pets such as cats and dogs. The plant contains calcium oxalate crystals, so take care around pets and children.
Does Alocasia need direct sunlight?
Alocasia prefers bright, indirect light and doesn’t do well under direct sunlight. You’ll notice the leaves becoming scotched pretty quickly.
Are Alocasia easy to care for?
Alocasia aren’t the easiest plants to grow indoors, but if you can nail the watering (a moisture meter helps) they’re actually not too bad. They are a bit punishing on beginners because if one leaf dies, any others connected tend to do poorly too. I’d recommend at least a full growing season with another indoor plant before taking one of these home.
Should I mist Alocasia plants?
Avoid misting Alocasia, but if you do (I get it, it’s fun, but watch out for… fungus), you’ll want to wipe down those leaves after, which helps cut down on dust accumulation, really letting those stomata open and work properly.
